Installing FlexMedical Client
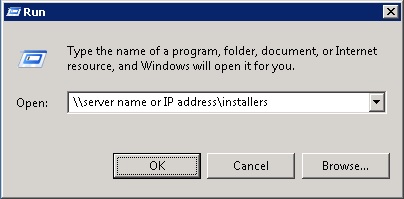
A copy of the FlexMedical Client Installer is saved on a shared directory called “Installers” on the FlexMedical server at each practice. This share can typically be accessed by pressing "Windows Key + R" on your keyboard and entering the share location. If you are not sure what your server name or IP address is, your IT Personnel should have that on file.

Double-click the "FlexMedicalClientSetup.exe" program and follow the prompts to install it. If it states that the publisher could not be verified or that the program needs administrative privileges to run, you may click whichever option will allow you to run the program (typically "OK" or "Run").

Click "Next" when you reach the intro screen for the installer.

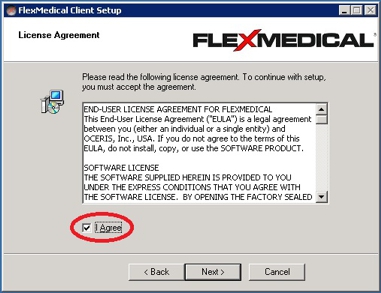
Click "I Agree" to accept the license agreement and click "Next" to continue.

You may change the location where FlexMedical is installed, however, we strongly recommend installing it in the default location provided by the installer. Click "Next" to continue.

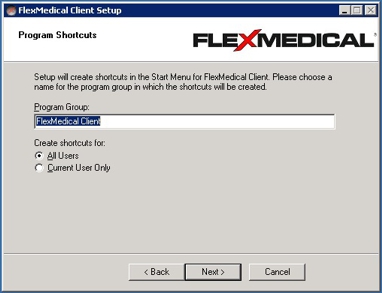
You may change the Program Group and further restrict who can run FlexMedical on the local computer, however, we strongly recommend leaving these settings as-is. Click "Next" to continue.

Click "Next" to proceed past the summary page. A progress bar will appear as FlexMedical is installed.

Once FlexMedical has completed installation, a completion screen will appear. Click "Finish" and by default, it will run FlexMedical.

FlexMedical will attempt to find the server automatically, however, you may receive a message that "Error: Server could not be contacted" or "Error: The connection is encrypted". If either of these messages appears, click "OK" to continue.

Click the "Administration" tool (right hammer and wrench icon in the top left corner), and click "Add" to add a new server connection. If you do not have this information, contact FlexMedical Support for this information.
Connection Name: Usually "Server" is entered here, but it can be anything
Address: Either the name or IP address of the FlexMedical server
Port: Typically this is 8095
Encryption Passphrase: If encryption has been activated for your office, the "Encrypted" box will need to be checked and the passphrase will need to be entered here
When you have entered all of this information, click "OK" on both menus to save the connection.

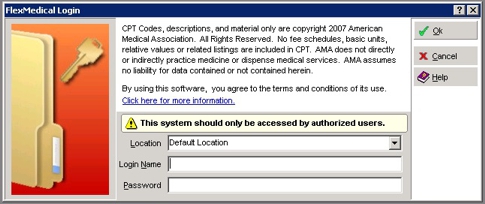
Click the "Key" icon to attempt to log in. If you are able to get to the FlexMedical Login screen, then it means your connection has been configured properly.

If you are unable to connect after consulting your IT Personnel, contact FlexMedical Support for additional assistance. Please note that additional charges may apply for software support for new installations of FlexMedical.